Set up a POS
Installing it on the counter machine and connecting it from your books.
Install Elvira POS on the machine at the counter. When it opens it shows a short code.
Connecting it
- Read the code from the counter.
- In your books, open the POS list and claim that code.
- The POS comes to life. Nobody signs in at the counter.
The code decides which company the POS belongs to, once. It can be claimed from anywhere: there is no site visit and no configuration file.
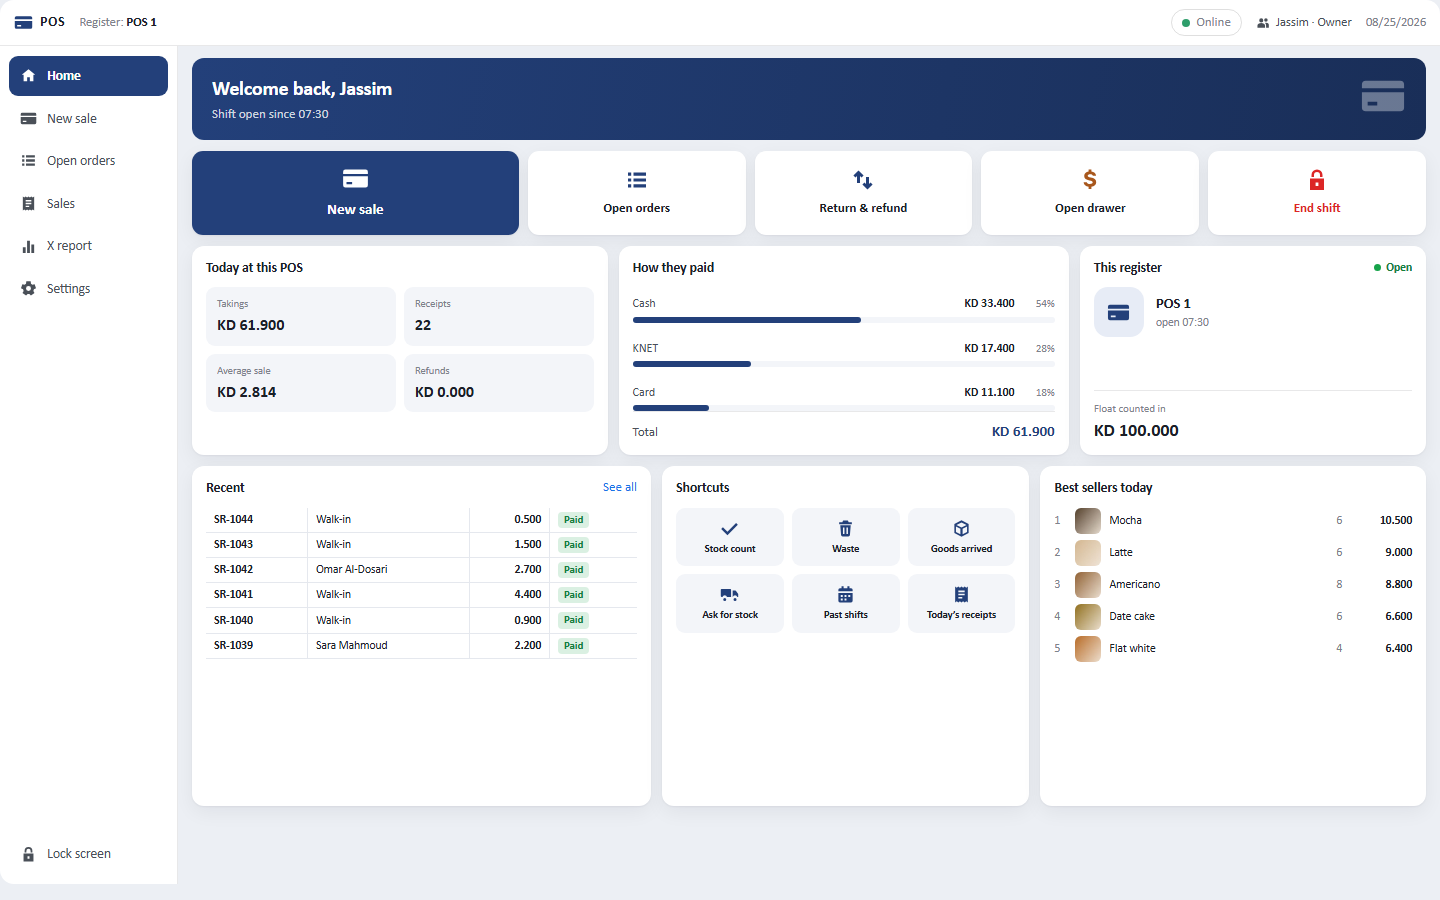
Selling
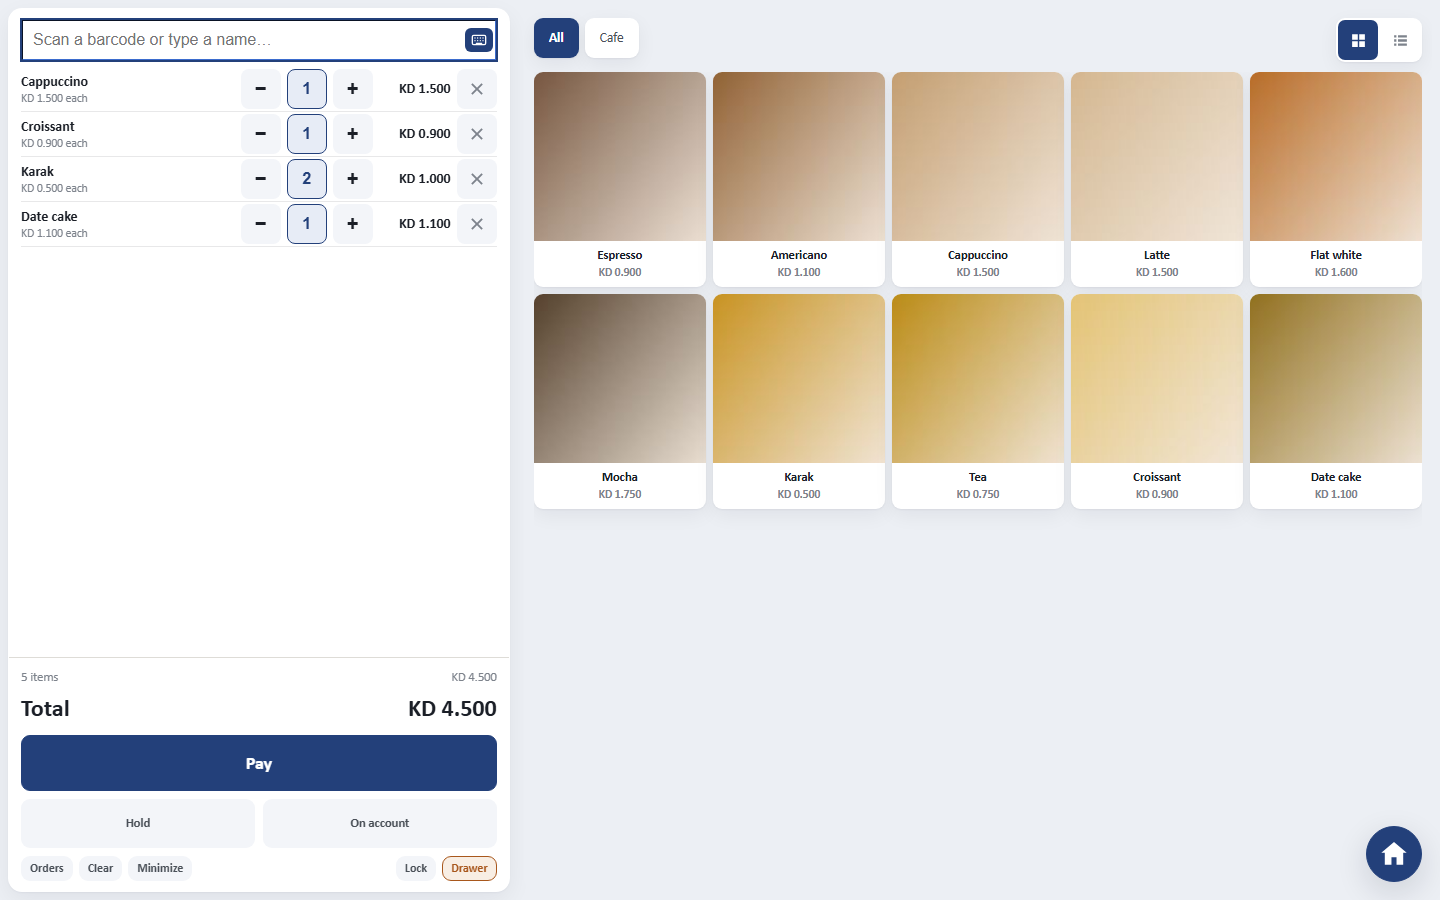
Press New sale. Scan a barcode or tap the item, and the cart adds up as you go. Pay takes cash, card or anything else you have set up: and splits one sale across several if that is what the customer hands you.
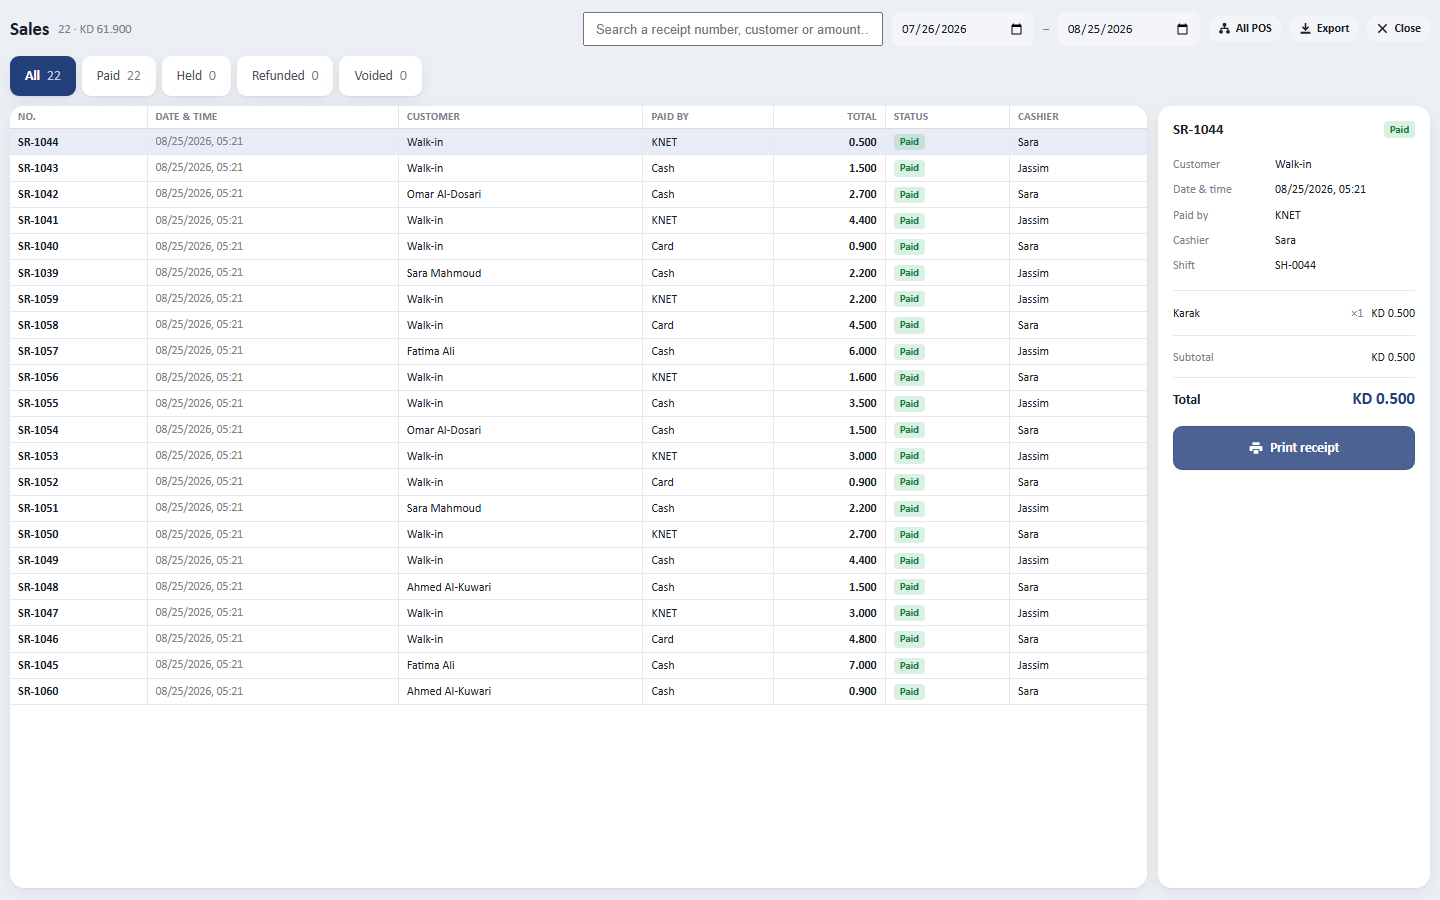
Finding a sale again
Sales in the left menu shows every receipt, not only today’s: searchable by number, customer or amount, with the receipt itself beside the list and who rang it. Print it again from there.
Disconnecting one
Revoke it from the same list. The machine stops selling, and everything it has already taken has reached the office.